


When I first laid my hands on a massage gun, I couldn’t help but chuckle. What was I going to do with this gadget? Little did I know, it would soon become a cherished asset in my wellness arsenal.
These devices don’t just offer relaxation; they deliver tangible health benefits that make them essential for anyone looking to boost physical recovery, cut down on stress, and elevate overall well-being. Let’s talk about their perks and uncover tips for seamlessly integrating them into your wellness routine.
If you’ve recently acquired a massage gun and want to unlock its full potential, you’re in for a treat.
Here are some savvy tips to make the most of your massage gun experience:
Pre-Workout Power-Up
Adding a massage to your pre-workout routine can supercharge your performance and reduce the risk of injuries. Target specific muscle groups like calves, quads, or shoulders for one to two minutes each, enhancing blood flow, warming up muscles, and boosting flexibility. This helps loosen tight muscles and primes them for exercise. Follow up with a quick massage of surrounding areas to bolster support and induce relaxation.
For optimal results:
Start at the bottom of your calf muscle and work your way up towards the knee in slow, circular motions.
Divide your quad into sections and focus on each section individually with the massage gun, paying attention to any areas of tightness.
Target the shoulder muscles and upper back with gentle pressure, avoiding the neck area.
By incorporating these moves into your routine, you’ll maximize the benefits and elevate your workout game.
The greatest wealth is health.
Virgil
Post-Workout Recovery
After an intense workout, wind down with a massage for a soothing cool-down. Its percussive therapy aids muscle recovery, improves circulation, reduces inflammation, and eases soreness. This promotes faster recovery and better overall performance.
A full-body massage is a great way to promote relaxation, enhance circulation, and target multiple muscle groups effectively. Here are the details for each stage of the full-body massage:
Warm-Up and Preparation:
Start by selecting a comfortable setting on your massage gun, typically starting with a lower intensity for the initial stages.
Begin at the lower extremities and work your way upward to ensure a gradual and soothing transition for your muscles.
Use a larger attachment head or a softer attachment for the initial strokes to ease into the massage.
Legs and Glutes:
Begin with the calves, applying gentle pressure in upward strokes from the ankles towards the knees. Focus on areas of tightness or soreness.
Move to the thighs, using broader strokes along the length of the muscles to stimulate blood flow and relieve tension.
Target the glutes with circular motions, paying attention to any areas of discomfort or tightness.
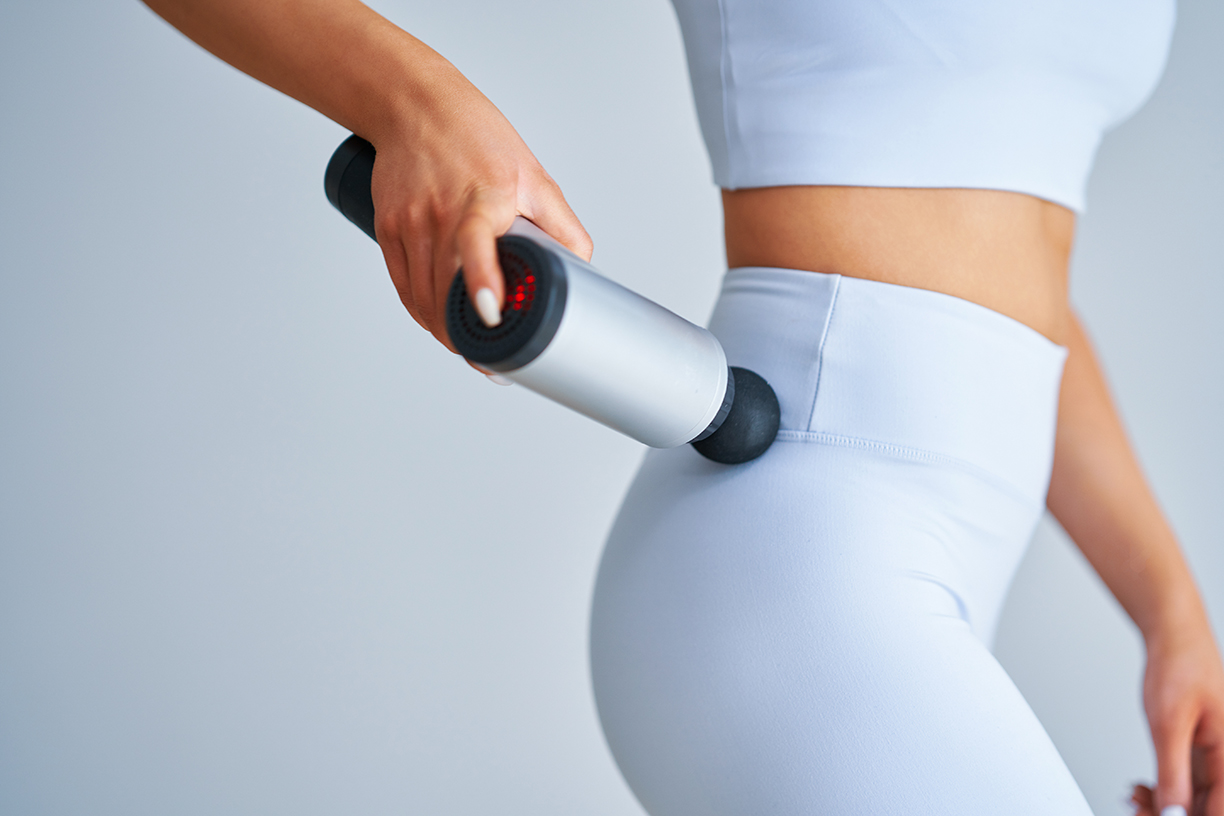
Lower Back and Hips:
Position the massage gun on either side of the spine, avoiding direct contact with the vertebrae.
Use a medium intensity level and circular motions to massage the lower back and hip area, targeting muscles that often carry tension from sitting or standing for long periods.
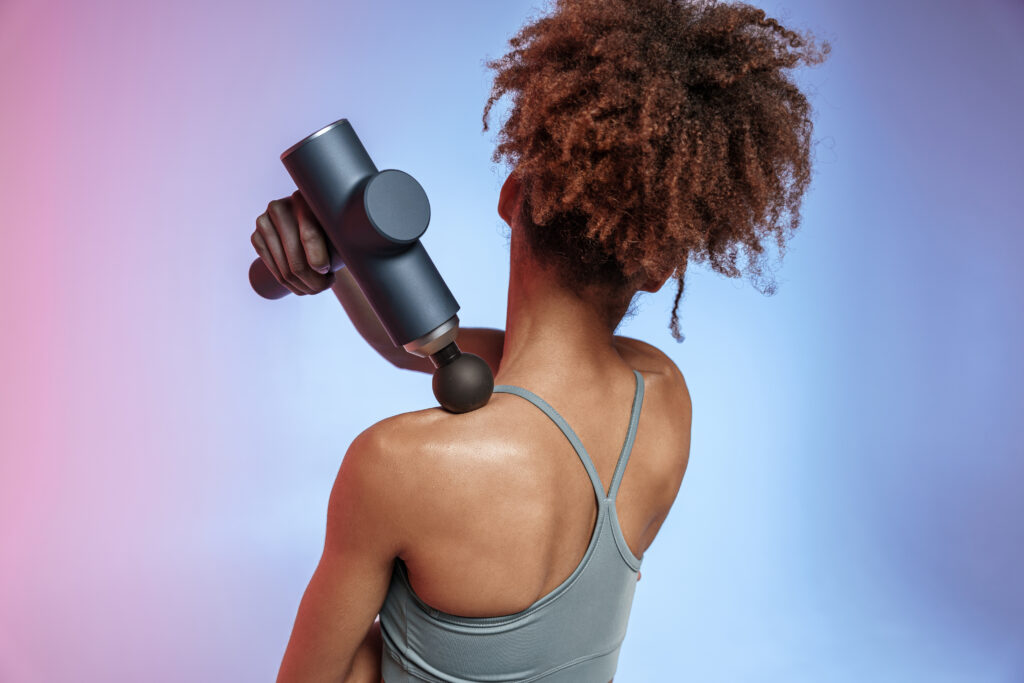
Upper Back and Shoulders:
Adjust the intensity level as needed, especially if targeting areas with more muscle mass such as the upper back and shoulders.
Use a narrower attachment head for focused pressure on specific muscle groups.
Start from the mid-back and work your way up towards the shoulders, applying gentle pressure to release knots and promote relaxation.
Arms and Neck:
Move to the arms, focusing on the biceps, triceps, and forearms with sweeping motions to improve blood circulation and alleviate muscle fatigue.
Use caution around the elbows and wrists, adjusting the intensity for comfort.
Finish the full-body massage by addressing the neck area with gentle, upward strokes along the sides and back of the neck, avoiding direct pressure on the spine.
Cool Down:
After completing the full-body massage, take a few moments to let the muscles integrate the therapy.
If desired, use a lighter intensity setting or switch to a softer attachment head for a final soothing pass over major muscle groups.
When addressing specific areas of soreness, it’s essential to apply gentle pressure strategically to target the affected muscles effectively. Here are the methods for providing focused relief:
Identify the Problem Area:
Begin by identifying the specific muscle or area of soreness that requires attention. This could be a knot, tight muscle, or an area that feels tense or uncomfortable.
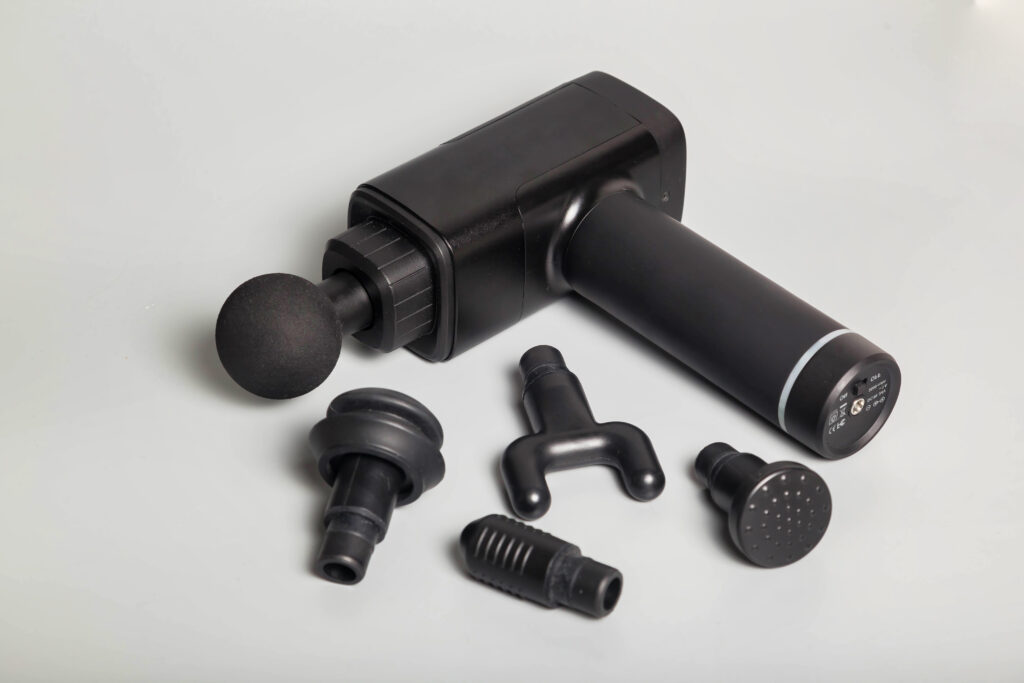
Select the Right Attachment:
Choose an attachment head that is suitable for targeted massage, such as a pinpoint attachment or a smaller, more focused head.
Attachments with a softer material can also be beneficial for sensitive areas or areas with acute soreness.
Adjust Intensity Level:
Start with a lower intensity level on your massage gun, especially if the area of soreness is sensitive or tender.
Gradually increase the intensity as tolerated, focusing on providing a comfortable yet effective massage.
Techniques for Focused Relief:
Apply gentle pressure directly to the sore area using the selected attachment head. Use slow, controlled movements to avoid causing discomfort.
Use circular motions or back-and-forth strokes, depending on the muscle’s orientation and the type of soreness.
Pay attention to feedback from your body. If the pressure feels too intense or causes pain, reduce the intensity or switch to a softer attachment.
Incorporate deep breathing techniques to enhance relaxation and promote muscle release during the massage.
Duration and Frequency:
Massage the specific area of soreness for a duration of 1 to 2 minutes initially, adjusting the time based on your comfort level and the response of the muscles.
Repeat the focused relief massage as needed throughout the day, especially if the soreness persists or reoccurs.
Integration and Follow-Up:
After providing focused relief to the sore area, allow the muscles to integrate the massage therapy by avoiding sudden movements or strenuous activities.
Follow up with gentle stretching exercises or mobility movements for the affected muscle group to further promote relaxation and recovery.
Trigger point therapy is an effective technique for releasing knots, relieving muscle tension, and improving range of motion. Here’s a detailed guide on how to perform trigger point therapy using a massage gun:
Identify Trigger Points:
Begin by identifying trigger points, which are areas of concentrated tension or knots in the muscles. These points often feel tender or painful when pressure is applied.
Select the Right Attachment:
Choose an attachment head that is designed for trigger point therapy, such as a pinpoint attachment or a smaller, more focused head.
Attachments with a firmer material can be beneficial for targeting deep-seated knots and trigger points.
Adjust Intensity Level:
Start with a moderate intensity level on your massage gun for trigger point therapy.
Gradually increase the intensity as tolerated, focusing on providing sufficient pressure to the trigger point without causing excessive discomfort.
Techniques for Trigger Point Therapy:
Position the massage gun directly over the trigger point or knot in the muscle.
Apply steady pressure to the area using the selected attachment head. Use slow, controlled movements to allow the muscles to release tension gradually.
Experiment with different angles and directions of pressure to effectively target the trigger point from multiple angles.
Incorporate deep breathing techniques to enhance relaxation and promote muscle release during trigger point therapy.
Duration and Frequency:
Massage the trigger point for a duration of 1 to 2 minutes initially, adjusting the time based on your comfort level and the response of the muscles.
Repeat trigger point therapy sessions as needed, focusing on persistent knots or areas of tension to promote long-term relief.
Integration and Follow-Up:
After performing trigger point therapy, allow the muscles to integrate the therapy by avoiding sudden movements or strenuous activities.
Follow up with gentle stretching exercises or mobility movements for the affected muscle group to further improve range of motion and prevent reoccurrence of trigger points.
These post-workout techniques can amplify recovery benefits and boost subsequent workouts.
Customize Your Comfort
Start low and slow, adjusting as needed for different muscle groups and sensitivity levels. This ensures a comfortable and effective experience without discomfort.
Quick tips:
Start Low, Go Slow: Gauge tolerance before ramping up intensity.
Targeted Adjustments: Match settings to muscle groups’ needs.
Feedback Loop: Listen to your body and adjust as necessary.
Follow Manufacturer Guidelines
Stick to recommended usage times and techniques to prevent overstimulation and maximize benefits without risking discomfort.
Incorporate massage guns wisely into your routine for improved recovery and well-being. Prioritize safety and seek professional advice if needed to optimize your experience and relaxation journey.


Karl
They are a game-changer after a long shift.
Paula
Sitting at a desk, my shoulders and neck feel tense all day. Using a massager has really helped me 😃